
Systems & sensors
Why Your RV Tank Sensors Are Always Wrong (And What Actually Fixes It)
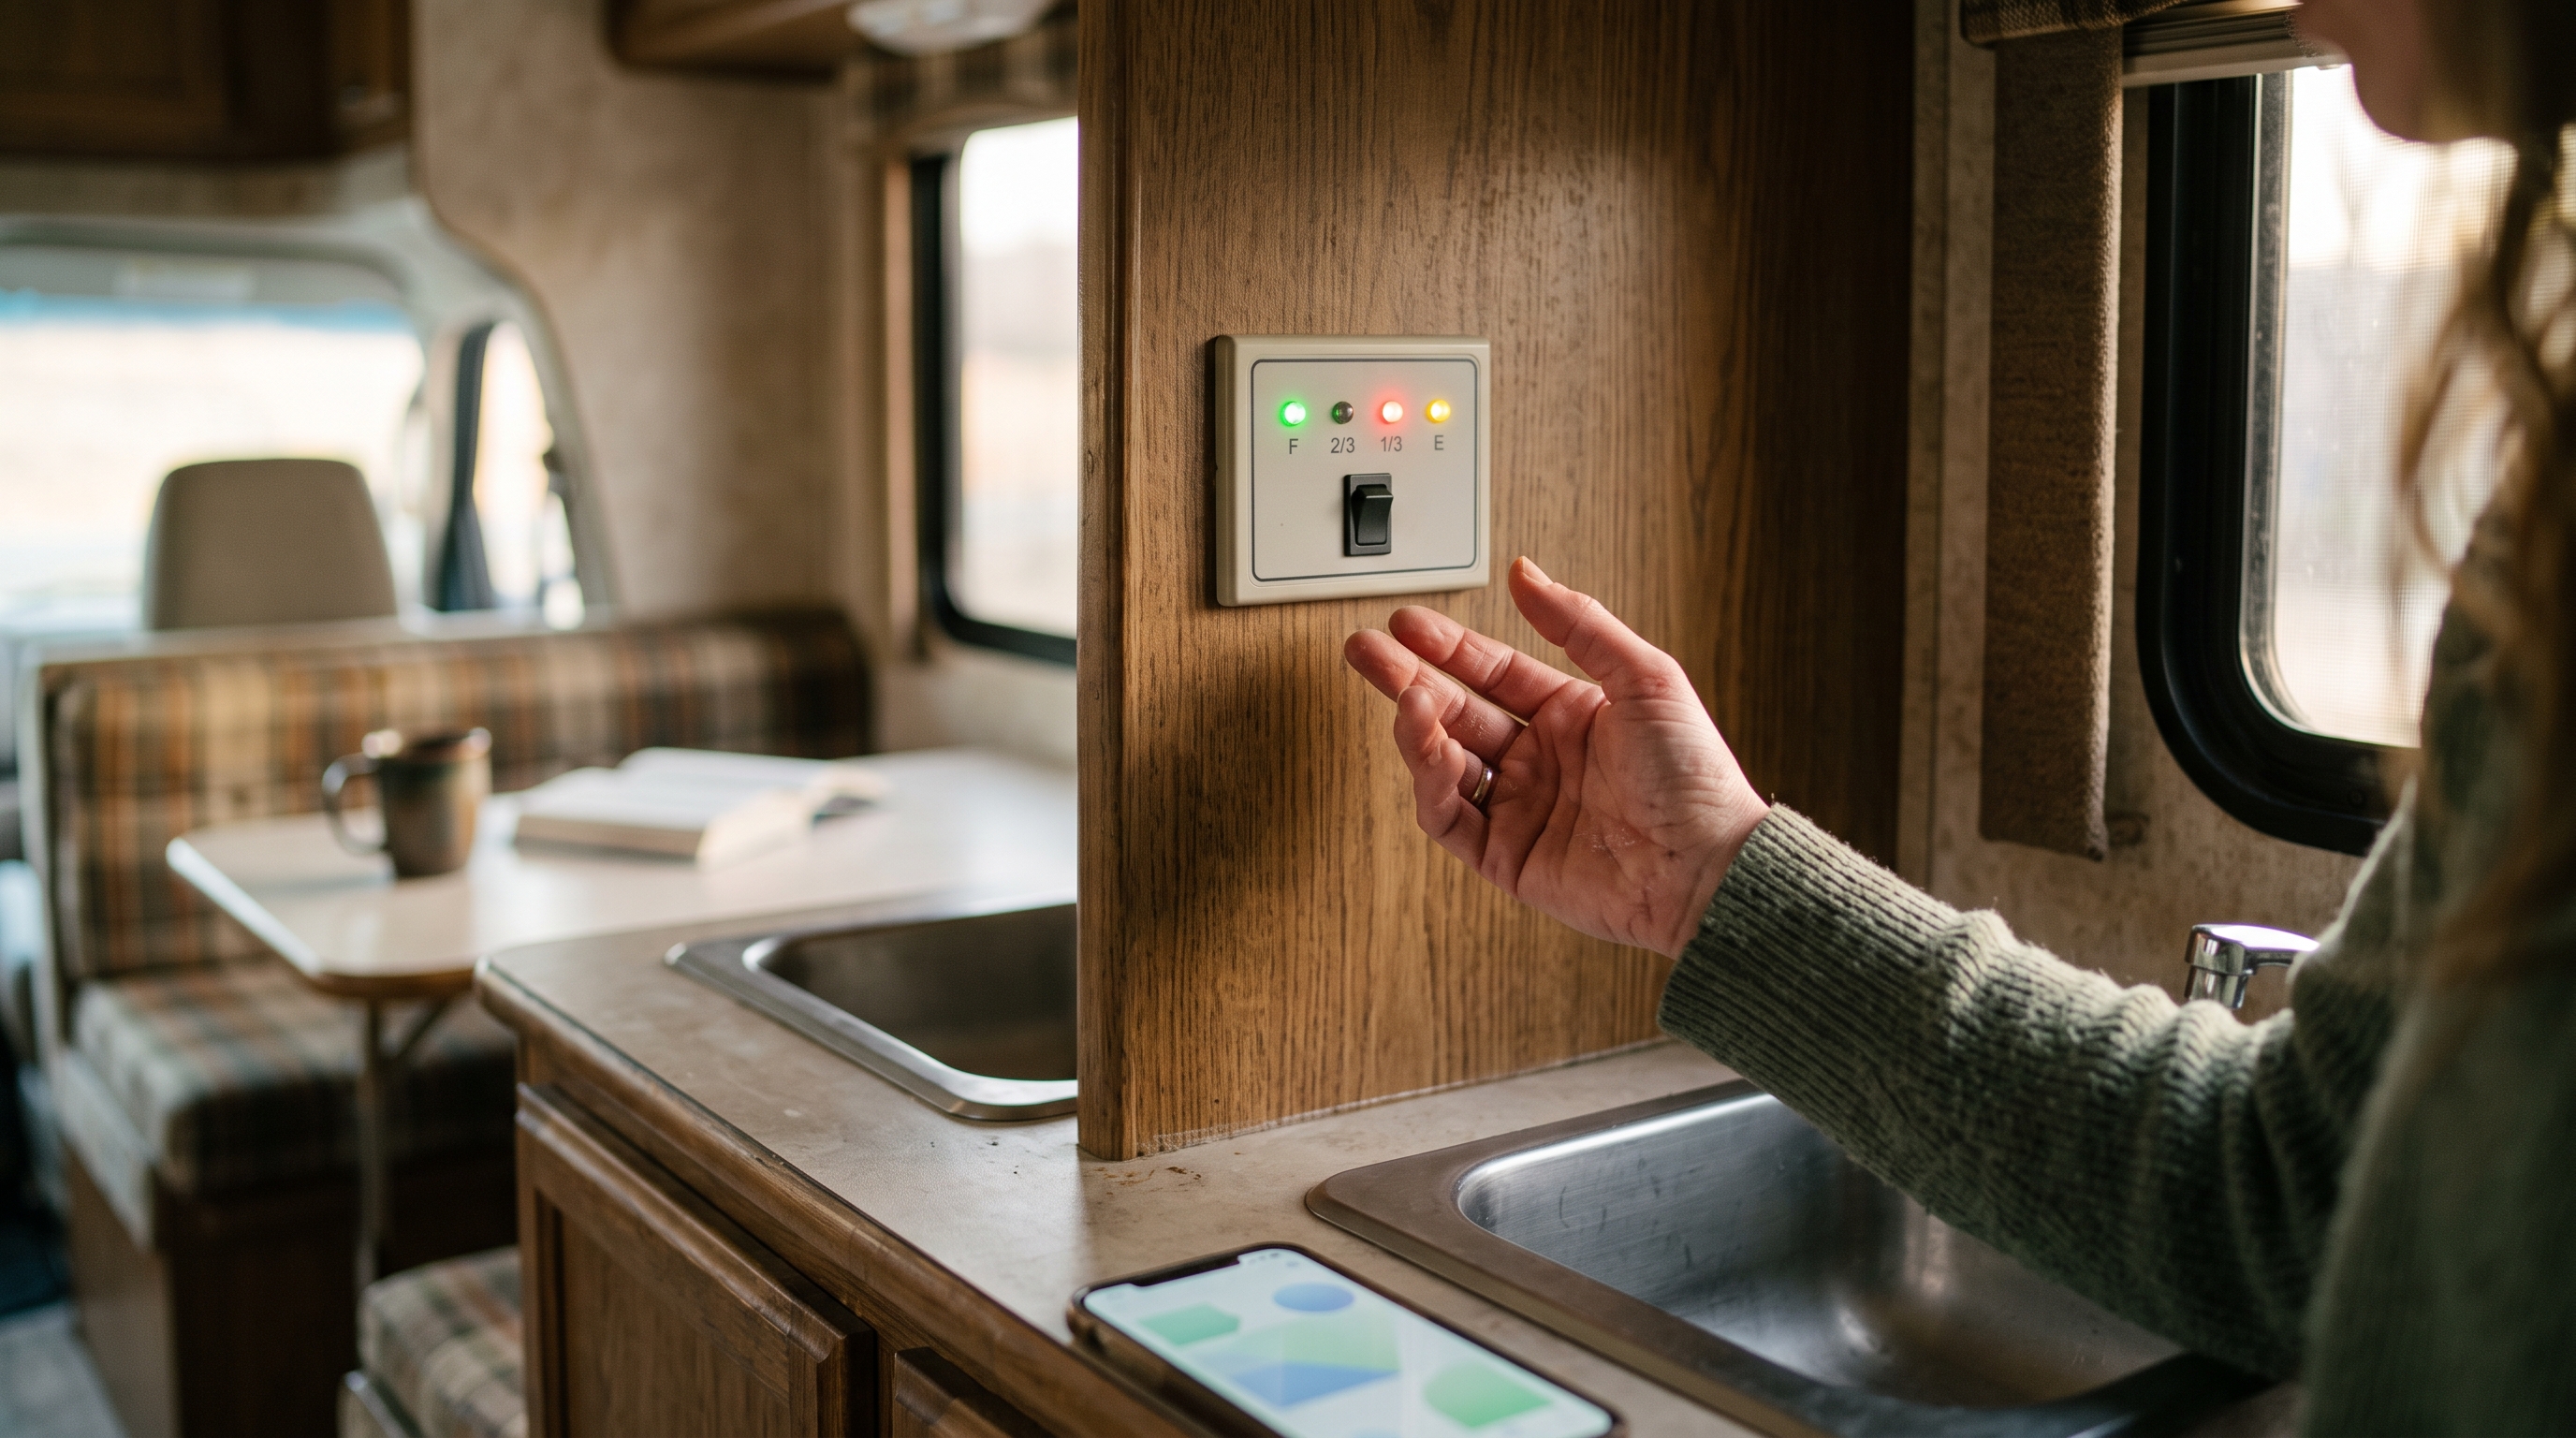
"When the water starts to back up into the shower, I know it's full." — u/Forkboy2 on r/GoRVing, the top-voted answer (38 points) in a thread about cleaning tank sensors
That's not a joke answer; for RV holding tank sensors, that's the state of the art. The classics: every tank on the RV tank monitor panel reads 13%, even the black tank you just dumped and rinsed — or it reads 1/3 for days, then jumps straight to full. "All tanks read 13%" and "grey tank reads 2/3 full when empty" are real forum phrasings. It's why "rv tank sensor not working" gets typed with real feeling.
Your sensors aren't broken. They were born this way. Almost every RV ships a sensing method built to fail in a sewage tank. Here's why — and what actually works.
How factory RV holding tank sensors work (and why the design is doomed)
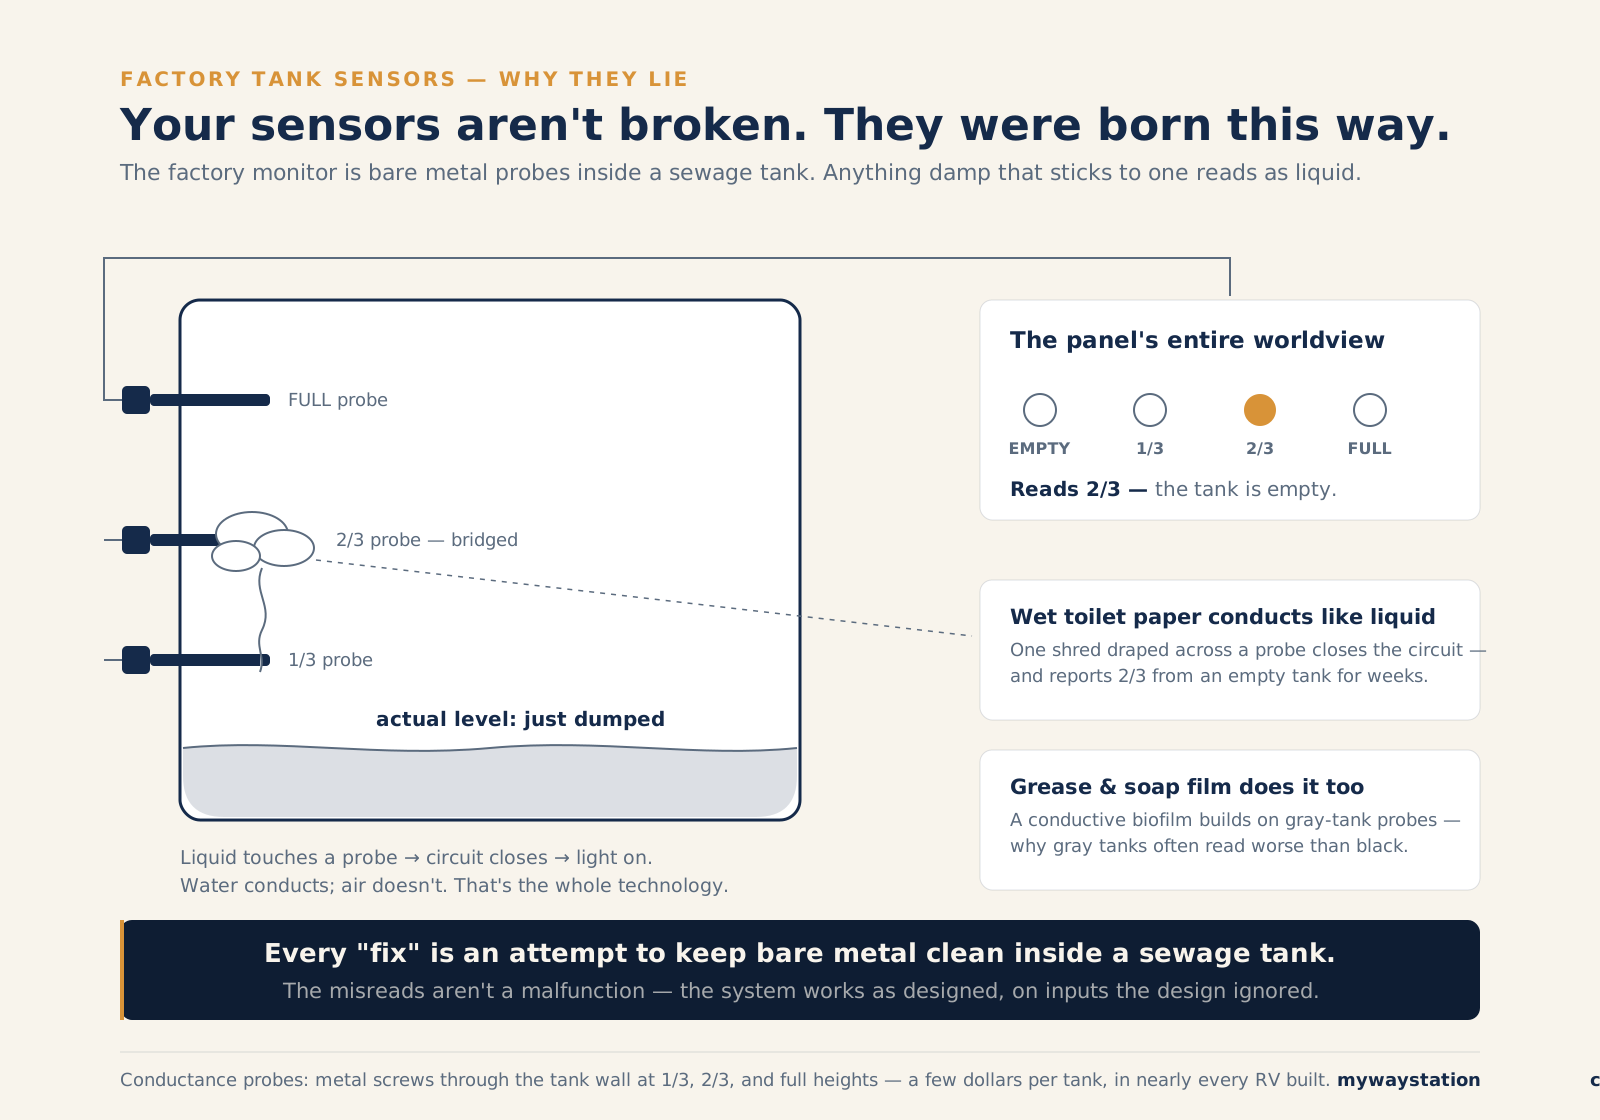
Your monitor panel's worldview: three screws in a sewage tank — anything damp on one reads as liquid.
The row of lights — EMPTY, 1/3, 2/3, FULL — comes from conductance probes: metal screws through the tank wall at set heights. Liquid touches a probe, completes a circuit, the light turns on. The whole technology costs a few dollars per tank, so it's in everything.
The flaw: the circuit doesn't care why current flows. Anything damp on a probe reads as liquid:
- Toilet paper. A wet shred reports "2/3 full" from an empty tank for weeks — why black tanks read full forever.
- Grease and soap scum. A conductive film — why gray tanks often read worse than black.
- General crud. Struvite, mineral scale — the coating on everything in a holding tank.
All three are normal tank contents. The design put a sensor that needs clean bare metal in the dirtiest spot in your RV.
The fixes, ranked by whether they actually work
1. Probe cleaning with real agitation — actually works
The one reliable fix: physically get the crud off —
- A tank rinser. Run the built-in black tank flush until the clear elbow truly runs clear; without one, use a wand-style rinser down the toilet or a reverse-flush attachment at the sewer outlet — the highest-value tool here, priced like two treatment jugs.
- The soak. Dump, refill with water plus a cleaner (or the dish soap below), slosh through a travel day, dump again. Owner reports credit soak-and-slosh most.
- Manual cleaning. A flexible brush down the toilet. Acknowledged, not recommended.
2. Dish soap and water agitation (the "Geo Method") — helps some, oversold
Dish soap or laundry detergent plus Calgon water softener, then drive. The soap-and-travel-day part is just fix #1's soak, and it helps; the Calgon non-stick-coating legend doesn't hold up; skeptics have picked it apart for years. Cheap, harmless, no miracle.
3. Tank chemicals and treatments — marginal for sensors
Enzyme and bacteria treatments are for waste breakdown and odor, not sensors: they can't scrub hardened film off a probe, and "fixed my sensors" reports usually follow the dump-and-flush that did the real work. Dedicated sensor cleaners do somewhat better, inconsistently.
4. The ice cube trick — debunked on camera
Dump, add a bag of ice and some water, drive. James Adinaro at The Fit RV checked: he built a clear acrylic black tank, loaded it with ice and a NASA-grade poop simulant, mounted a camera, and drove. The ice floats and melts; it scrubs nothing. Any benefit is the sloshing water.
5. When nothing works — because the fix doesn't stick
The film comes back even after a perfect cleaning — the probes are bare metal in a tank. Fast-dissolving RV-safe toilet paper and plenty of water slow the cycle, but probe cleaning is a treadmill, not a cure — ending it takes different technology.
1. Probe cleaning with real agitation
Flush until actually clear, soak, agitate. The one that reliably works — bring a strong stomach.
2. Dish soap soak (the "Geo Method")
Cheap and harmless; the agitation and water do the work. Oversold by legend.
3. Tank chemicals and treatments
Fine for odor and waste breakdown; marginal for the film on your probes specifically.
4. The ice cube trick
Tested on camera in a clear tank: the ice floats and melts; the sloshing water was doing the work. Harmless, festive, ineffective.
5. Different technology
Cleaning is a treadmill because the film always comes back. External senders (SeeLevel) or sonar (Mopeka) fix the design, not the symptom — compared honestly below.
The upgrade paths, honestly compared
Garnet SeeLevel II — the standard answer, with quirks
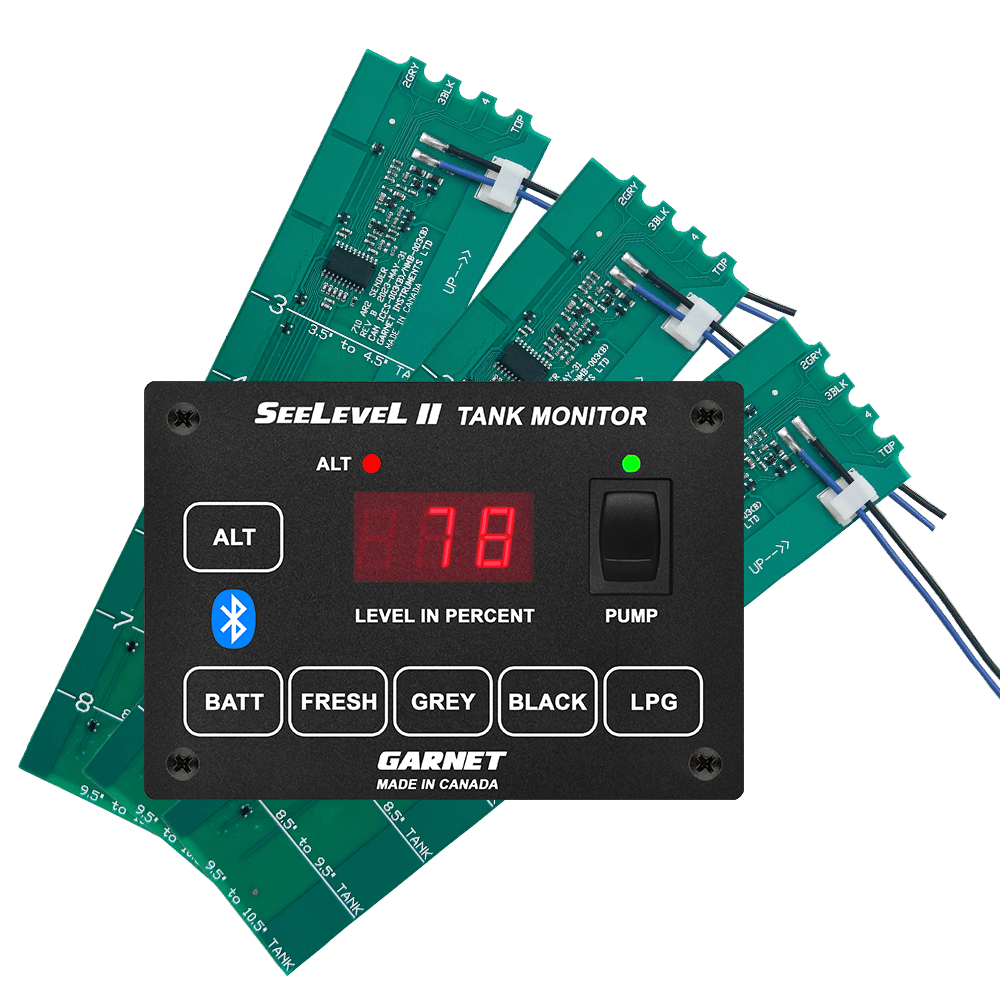
Image: Garnet Instruments, https://www.garnetinstruments.com
The Garnet SeeLevel II is the forum-chorus answer: adhesive sender strips on the outside of the tank, reading through the wall as a true 0–100% percentage (~2–5% steps under the hood). Toilet paper can't bridge a probe that isn't there. Deservedly the default — typically a couple hundred dollars for a multi-tank kit.
"SeeLevel II Tank Monitor problems" and "Issue with See Level Black Tank Monitor" threads exist for a reason:
- Grounding matters. Garnet's manual requires a common ground for every sender and the display — RVs "can have several ground circuits with resistance between them." Owners who've called Garnet report ~20 ohms on the ground path causing erratic readings (the manual gives no number).
- Metal nearby confuses it. Metal must stay two inches from the sender face and an inch from its edges — frame, brackets, tank straps. Finding clean real estate can take longer than the install.
- Crud just moved. Thick residue on the inside wall behind the strip can still skew readings until a good flush. Better than probes, not immune.
- Fit is fiddly. Senders trim to length, auto-calibrate, and stack for tall tanks (about 4.5"–34"), but minimums apply (SS sender: 6"+) and true 0%/100% needs placement a quarter-inch off tank top and bottom. Plastic and poly tanks only.
Still the answer we'd give — it assumes clean 12V grounds and a careful install, not sticker-and-forget.
Mopeka sonar sensors — the Bluetooth underdog
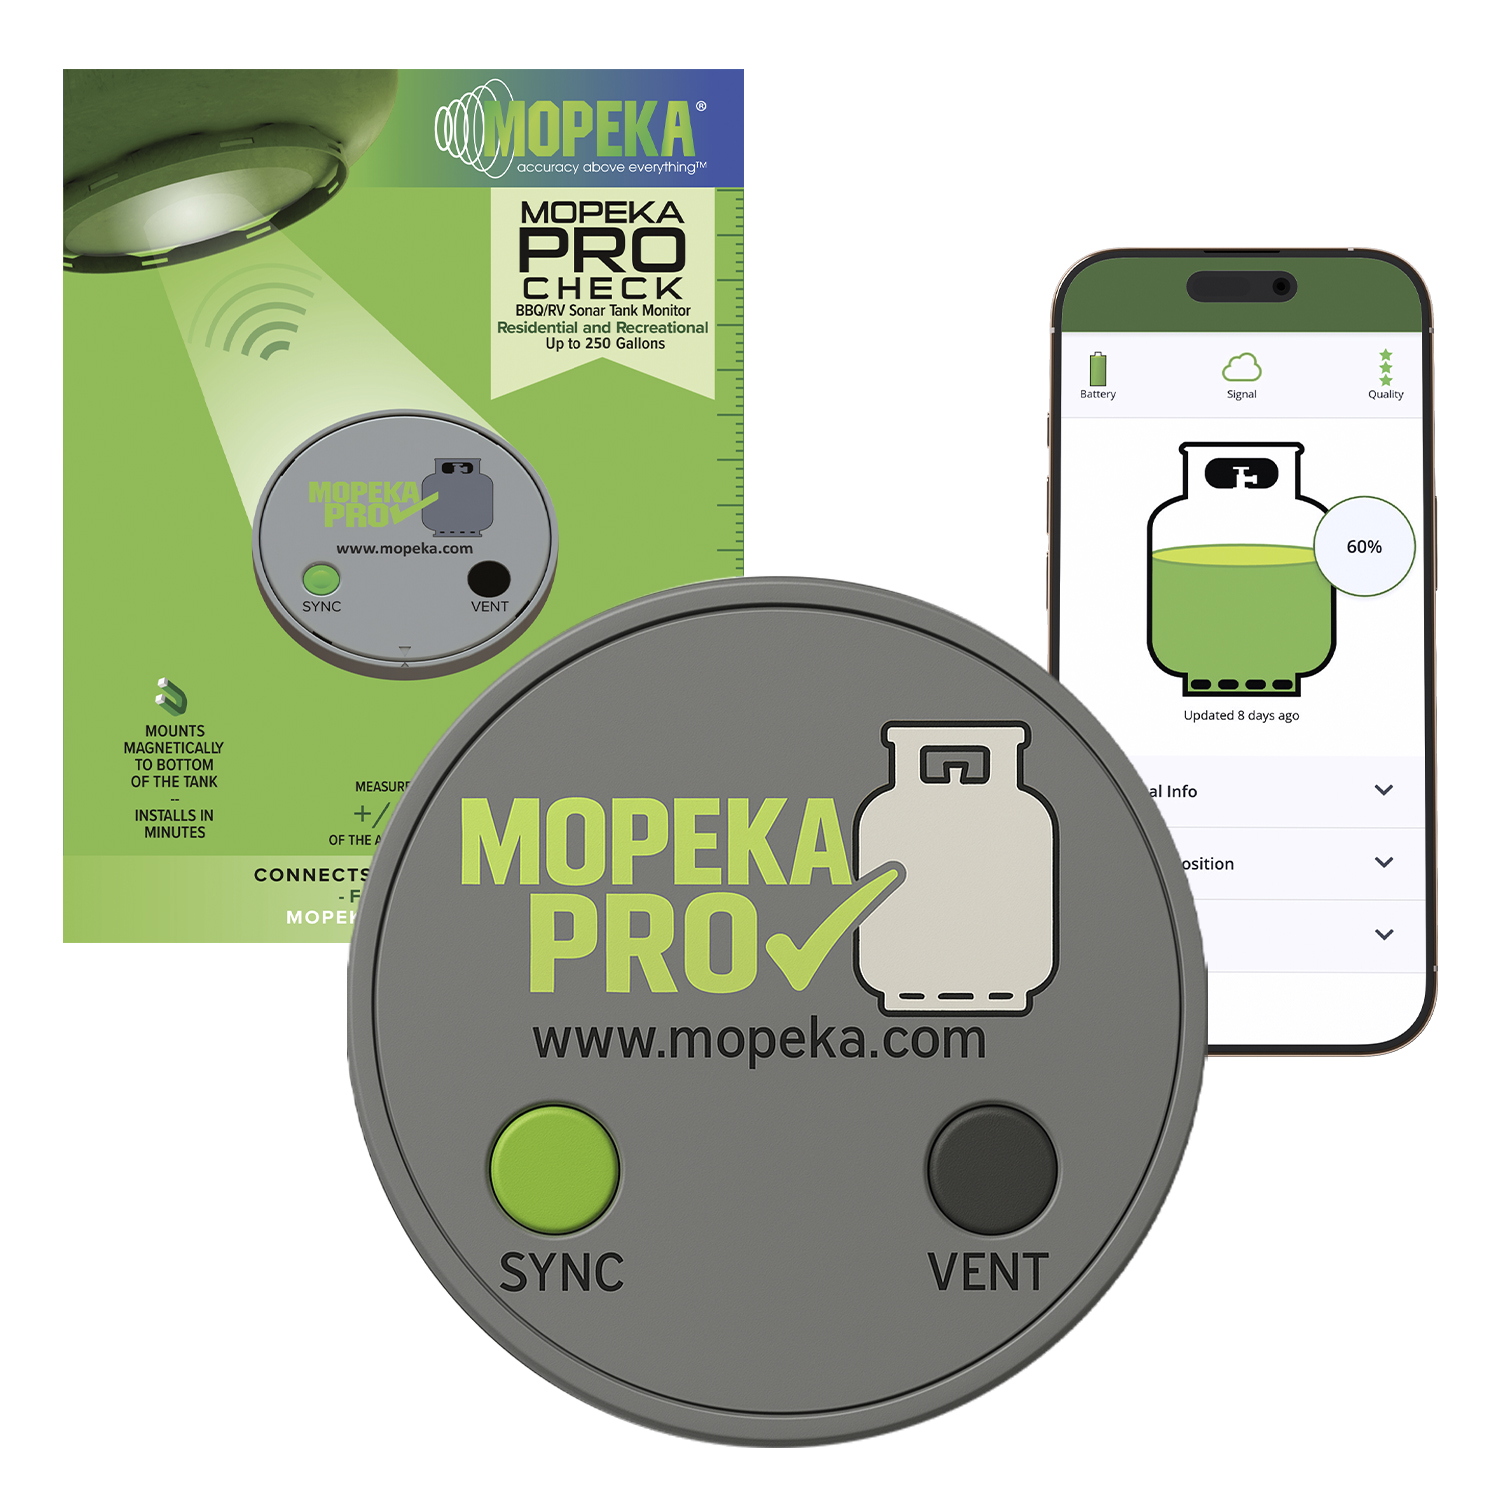
Image: Mopeka Products, https://mopeka.com
Mopeka started on propane; the Pro Check Universal reads poly holding tanks too: an ultrasonic puck on the bottom exterior pings the level through the wall and reports to your phone over Bluetooth. Figure ~3.5 years on a replaceable coin cell, magnet or collar mounting, and roughly $70–80 per tank — well under a SeeLevel retrofit. Owner caveats: accuracy wanders near empty and full, the puck needs a clean shot from the tank's lowest point (sludge, again), and Bluetooth means reading at the rig unless you add Mopeka's gateway or a broader system.
Full integration — tank levels as just another sensor
Both upgrades can feed a real monitoring setup, not a dumb panel. Mopeka is a DIY favorite because Home Assistant reads it — tank levels on one dashboard with temperature, batteries, and power, with alerts wherever the rig has a connection. Watching the whole RV? Start with our comparison of full monitoring systems.
The honorable low-tech fallbacks
Plenty of owners solve this for free:
- The flashlight. Shine it down the (open, flushed) toilet. Exact and free.
- Counting flushes. "Two people, four days, time to dump." More accurate than factory probes.
- The calendar. Dump every N days. N is learned exactly once, the hard way.
FAQ
Why do my RV tank sensors read wrong? Because anything conductive stuck to a bare metal probe — wet toilet paper, grease film, soap scum — completes the circuit like liquid. It's the conductance-probe design, not something you broke.
How do I clean RV tank sensors? Flush with a tank rinser until the water runs clear, then soak with dish soap or a sensor cleaner through a travel day and dump. The film returns with use — maintenance, not a cure.
Do ice cubes really clean RV tank sensors? No. In The Fit RV's clear-tank experiment the ice just floated and melted; any benefit is the sloshing water.
Is the SeeLevel tank monitor worth it? Yes, once you're tired of the cleaning treadmill: external senders, a true 0–100% readout, nothing inside the tank to foul. Mind the install — bad 12V grounds, nearby metal, and heavy residue inside the wall can all skew it. Plastic tanks only.
Why does my black tank read full after dumping? Almost always toilet paper or residue bridging a probe (on a SeeLevel, residue inside the wall at the sender). Flush and soak before blaming the electronics, then use faster-dissolving toilet paper and more water per flush.
Bottom line
Factory tank sensors read wrong by design: conductive probes in a tank of conductive crud — no chemical or bag of ice repeals that. Clean with real agitation (forever), or change the technology — SeeLevel II is the deserved default (mind your grounds), Mopeka the budget path — both get better feeding a real monitoring system instead of lights you stopped believing years ago.
Until then: the flashlight never lies.
Stay in the loop
Occasional updates from the road and the workbench — what we're learning, what we're building. No spam, easy out.