
DIY & tech
How to Build a Smart RV with Home Assistant: The Complete Guide (2026)
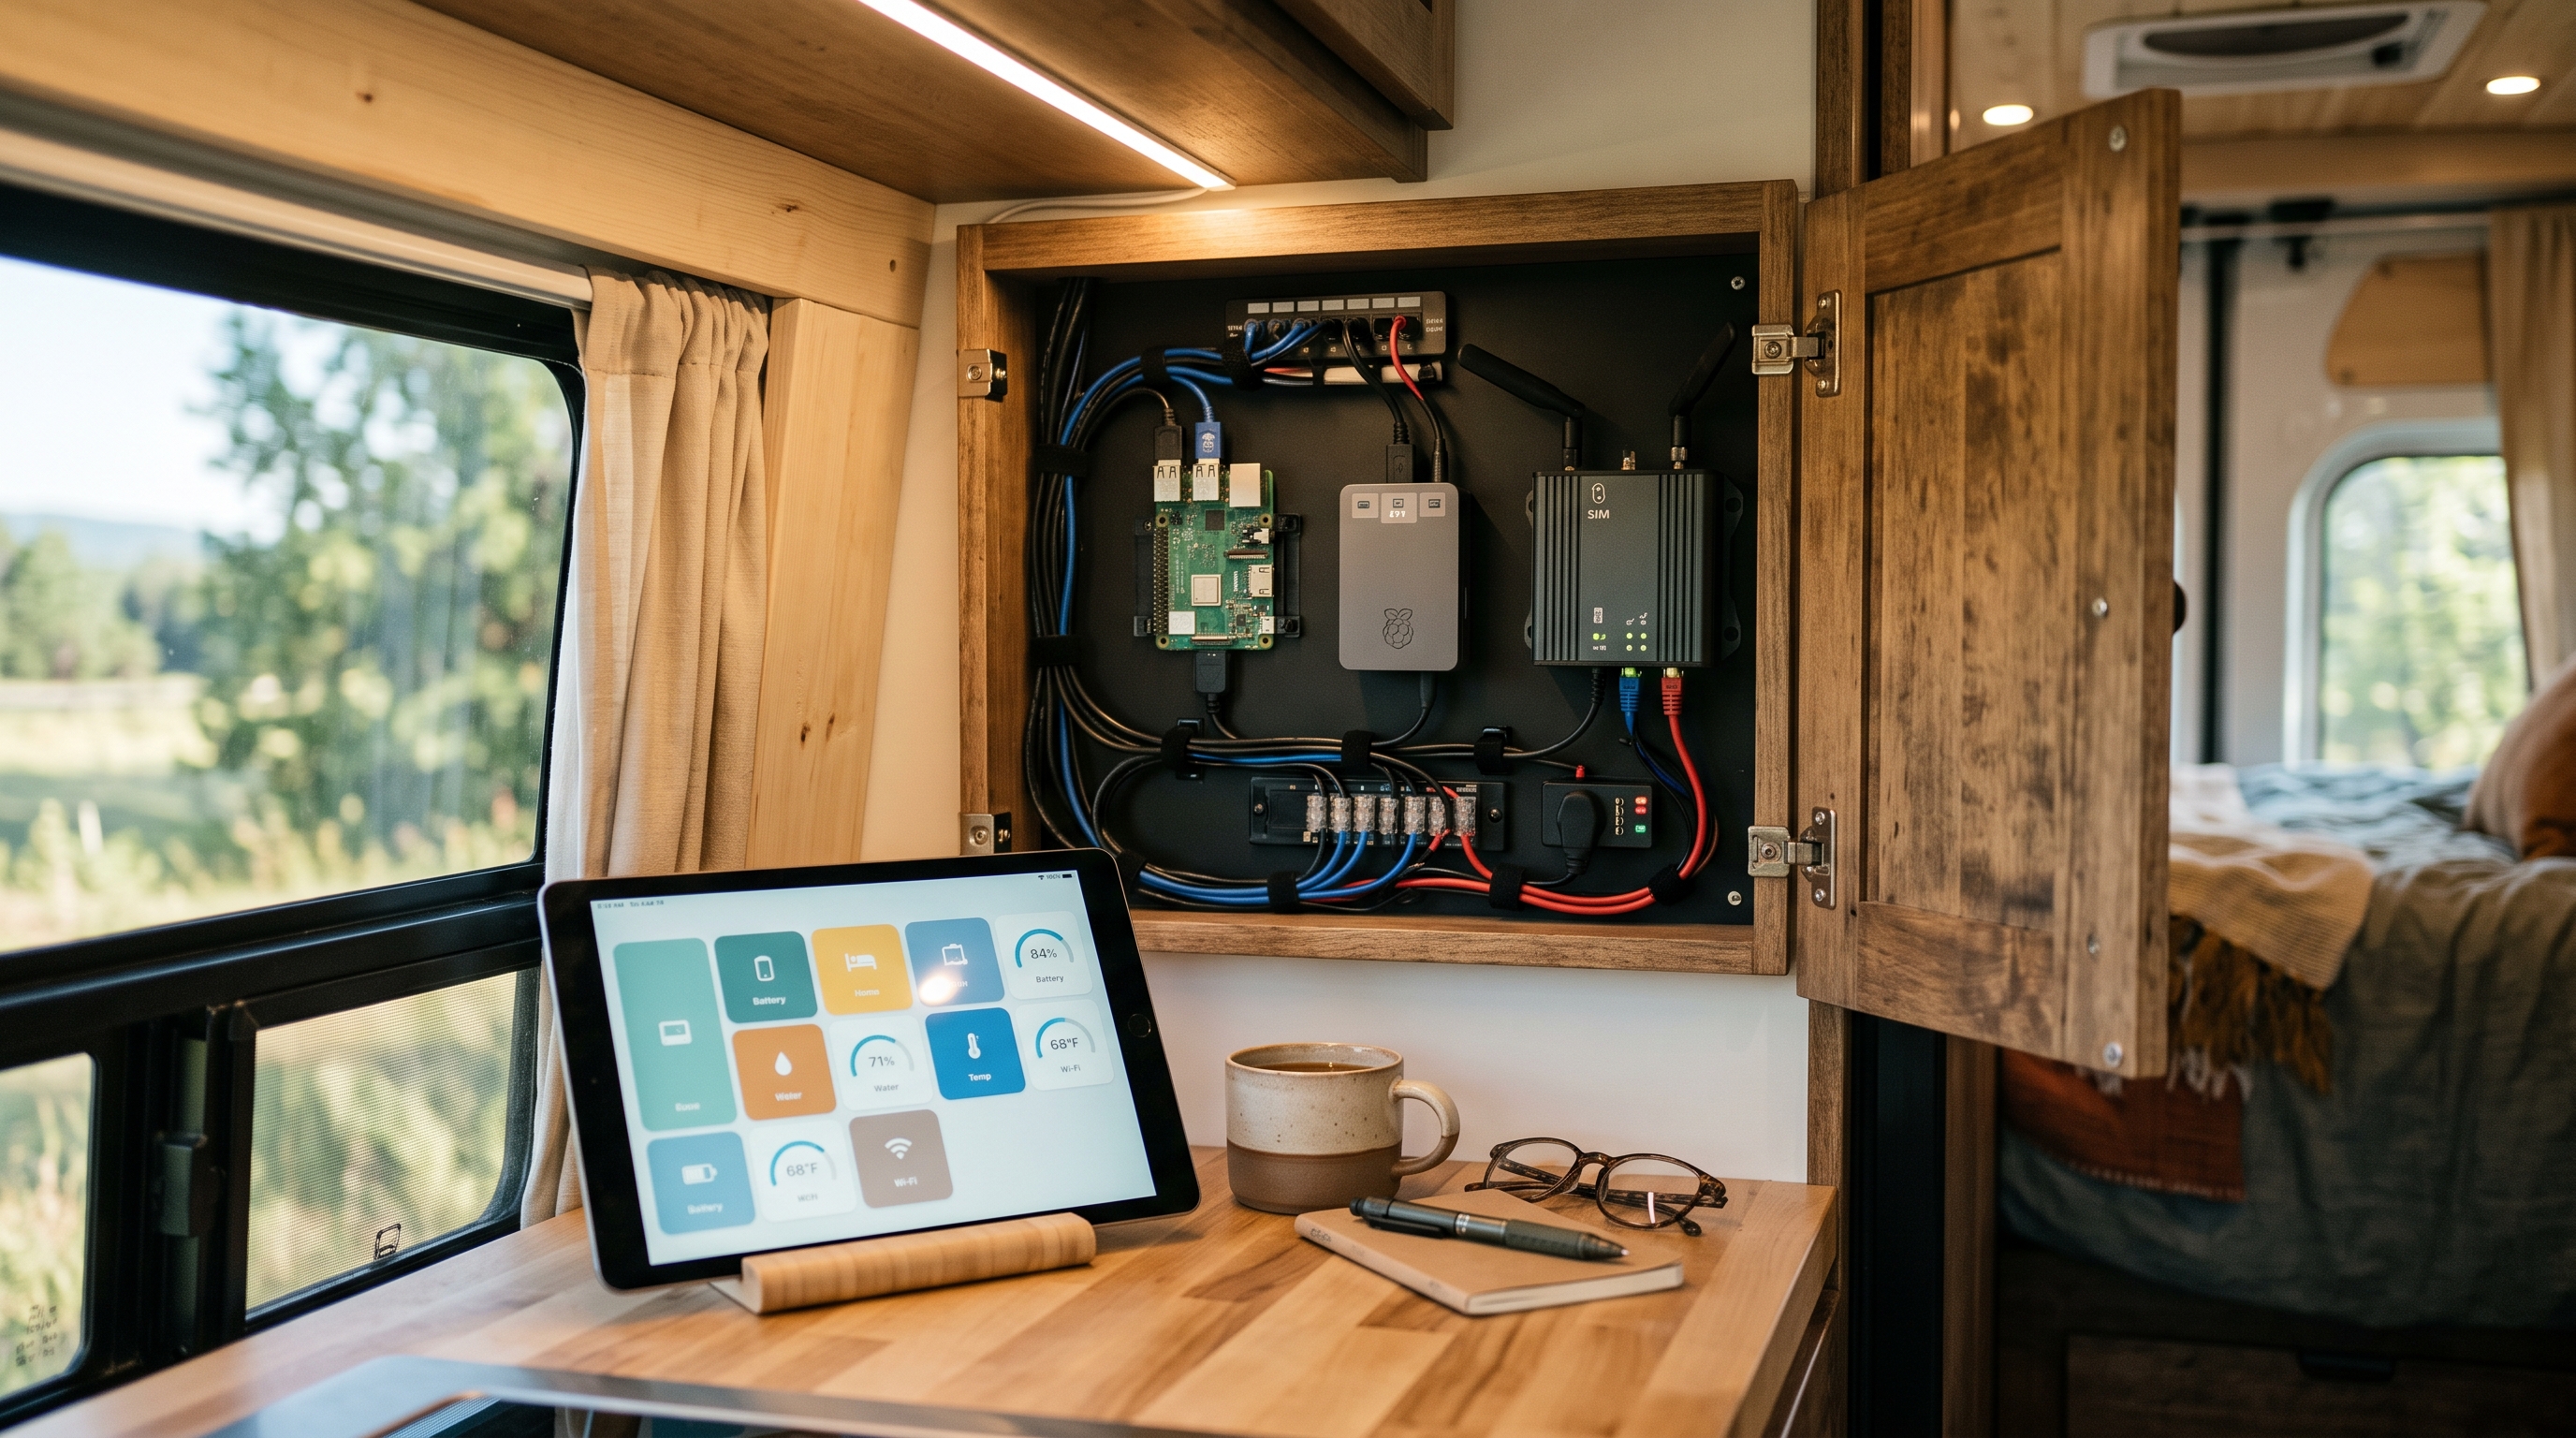
Every commercial RV monitoring system is a bundle of someone else's compromises: their sensors, their carrier, their subscription. In our comparison of the best RV monitoring systems, each does a few things well and gives up on the rest.
Home Assistant is what happens when you refuse the bundle: free, open-source software with 2,000+ integrations on a small computer in your rig — an RV smart home on your terms, one dashboard for temperature, batteries, tanks, shore power, leaks, and doors.
This is a researched build plan: hardware, verified integrations, written-out automations, and the part most guides skip — what breaks.
1. Why Home Assistant in an RV (and why maybe not)
The case for:
- Total control. Thresholds, escalation, quiet hours — all yours.
- No subscription. The software is free; remote access can be (section 4).
- Sensors for everything. Propane, batteries, humidity, doors, the 12V fridge — often gear you already own.
- It's local. If the internet dies the logic keeps running; only notifications need a connection.
The honest costs:
- You are the support department. No 800 number at 2 a.m. — just you, a flashlight, and a log file.
- It's a hobby, not a product. A weekend to build, plus updates and sensor batteries forever.
- Reliability is yours to engineer (section 6).
Tired already? Buy instead — section 7 has the framework. Curious? This is one of RVing's most satisfying projects.
2. The brain: what to run Home Assistant on in a 12V world
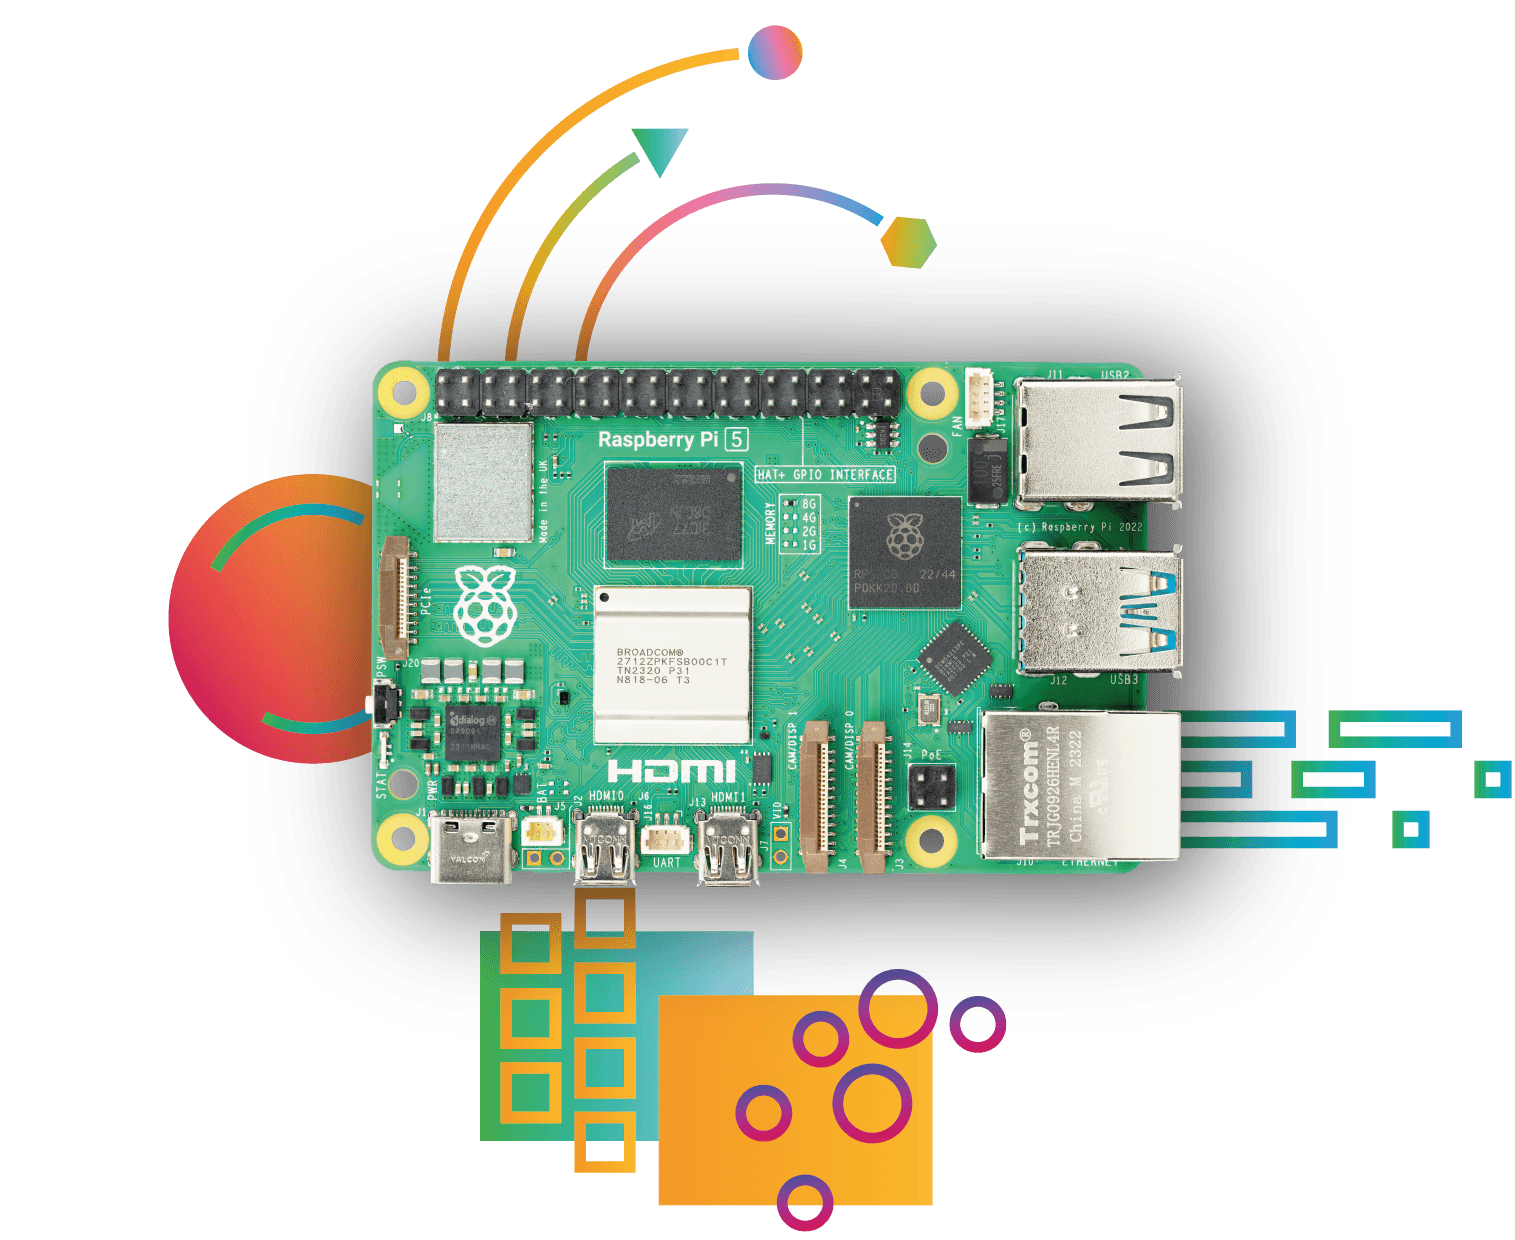
Image: Raspberry Pi, https://www.raspberrypi.com/products/raspberry-pi-5/
Raspberry Pi 5 ($110 for the 4GB board as of mid-2026 — DRAM-shortage pricing Raspberry Pi calls temporary; ~$170–200 with supply, M.2 HAT, SSD, and case) — the classic choice. Skip the microSD card (HA's constant writes kill them — section 6); boot from an NVMe SSD on an M.2 HAT. Idles around 3W.
Mini PC (N100 class, ~$150–250 with 16GB RAM and an SSD) — the power-user pick: real SSD, headroom for cameras and add-ons. The catch: ~6–10W idle — and 10W is ~20Ah a day from a 12V bank when boondocking.
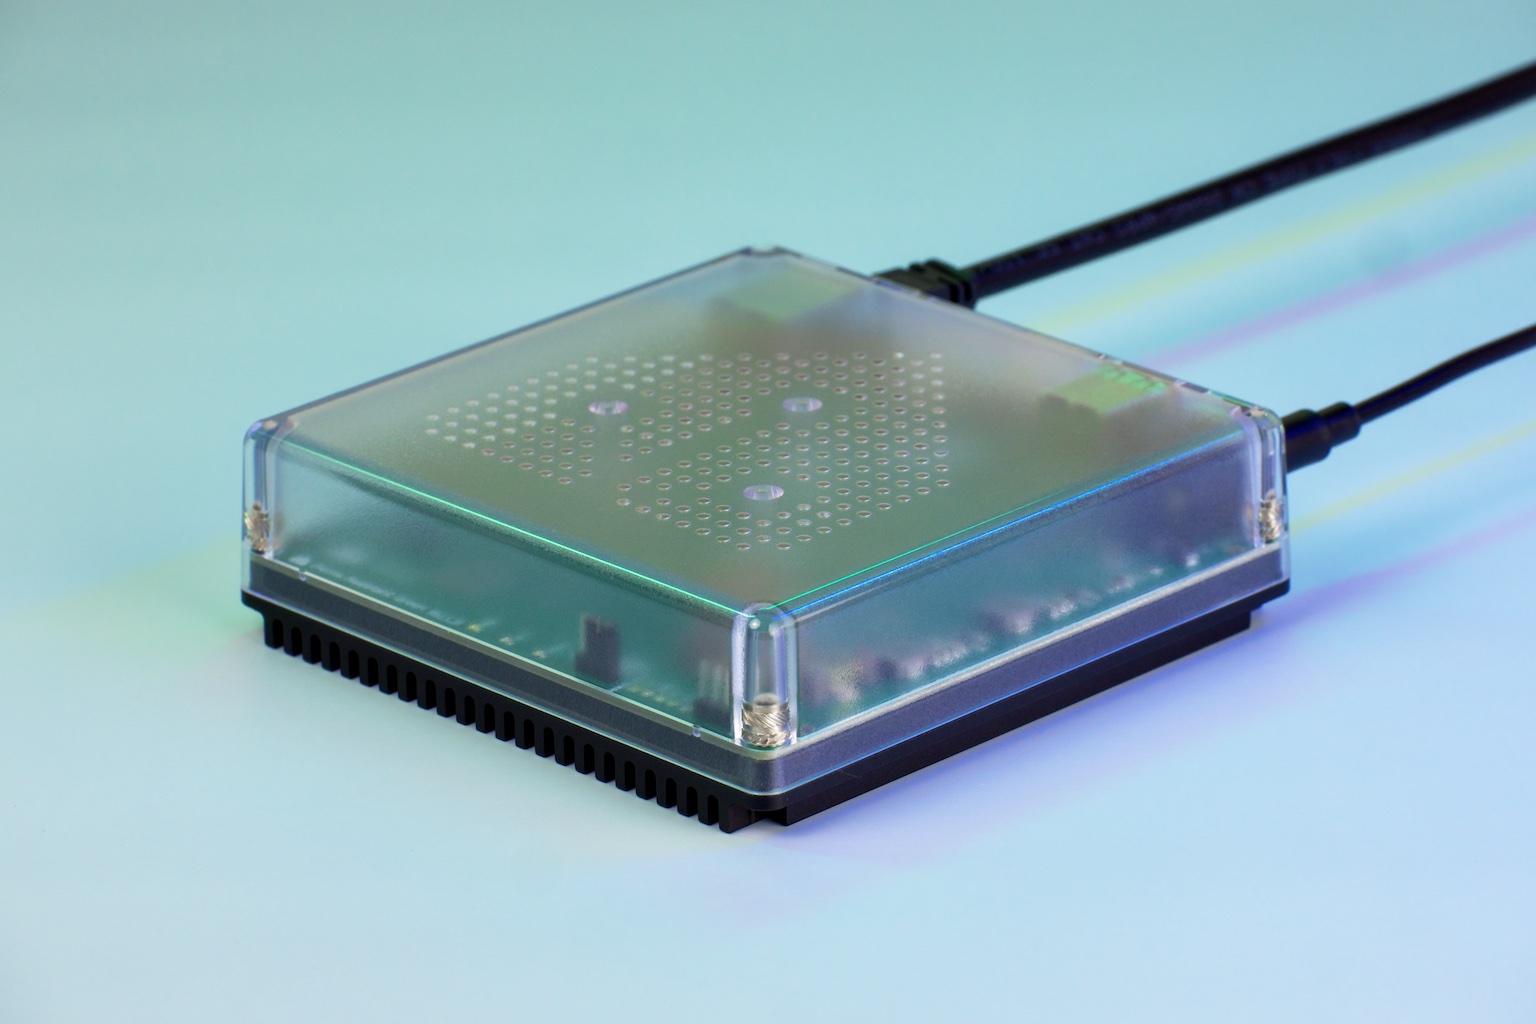
Image: Home Assistant (Nabu Casa), https://www.home-assistant.io/green/
Home Assistant Green ($199 — MSRP since Nabu Casa's January 2026 price change) — the official plug-and-play box: silent, ~1.7W idle, eMMC storage, HA preinstalled. Least tinker-y. (No Zigbee radio — every box here needs a USB dongle anyway.)
Home Assistant Yellow — discontinued as of October 2025. Software support continues, so keep using one you own; don't hunt one down for a new build.
Our pick: Pi 5 with NVMe if you're off-grid often; N100 if you're mostly on hookups; Green for the shortest path to working.
Powering and mounting. No cigarette-lighter USB adapters — they brown out when the battery sags. Wire it to an always-on circuit, not one the inverter controls — or your monitoring dies with the thing it monitors. Mount it dry, ventilated, and central — a tech cabinet, not an exterior bay — within Bluetooth reach of a Mopeka under the propane tank.
3. The sensors: your parts list
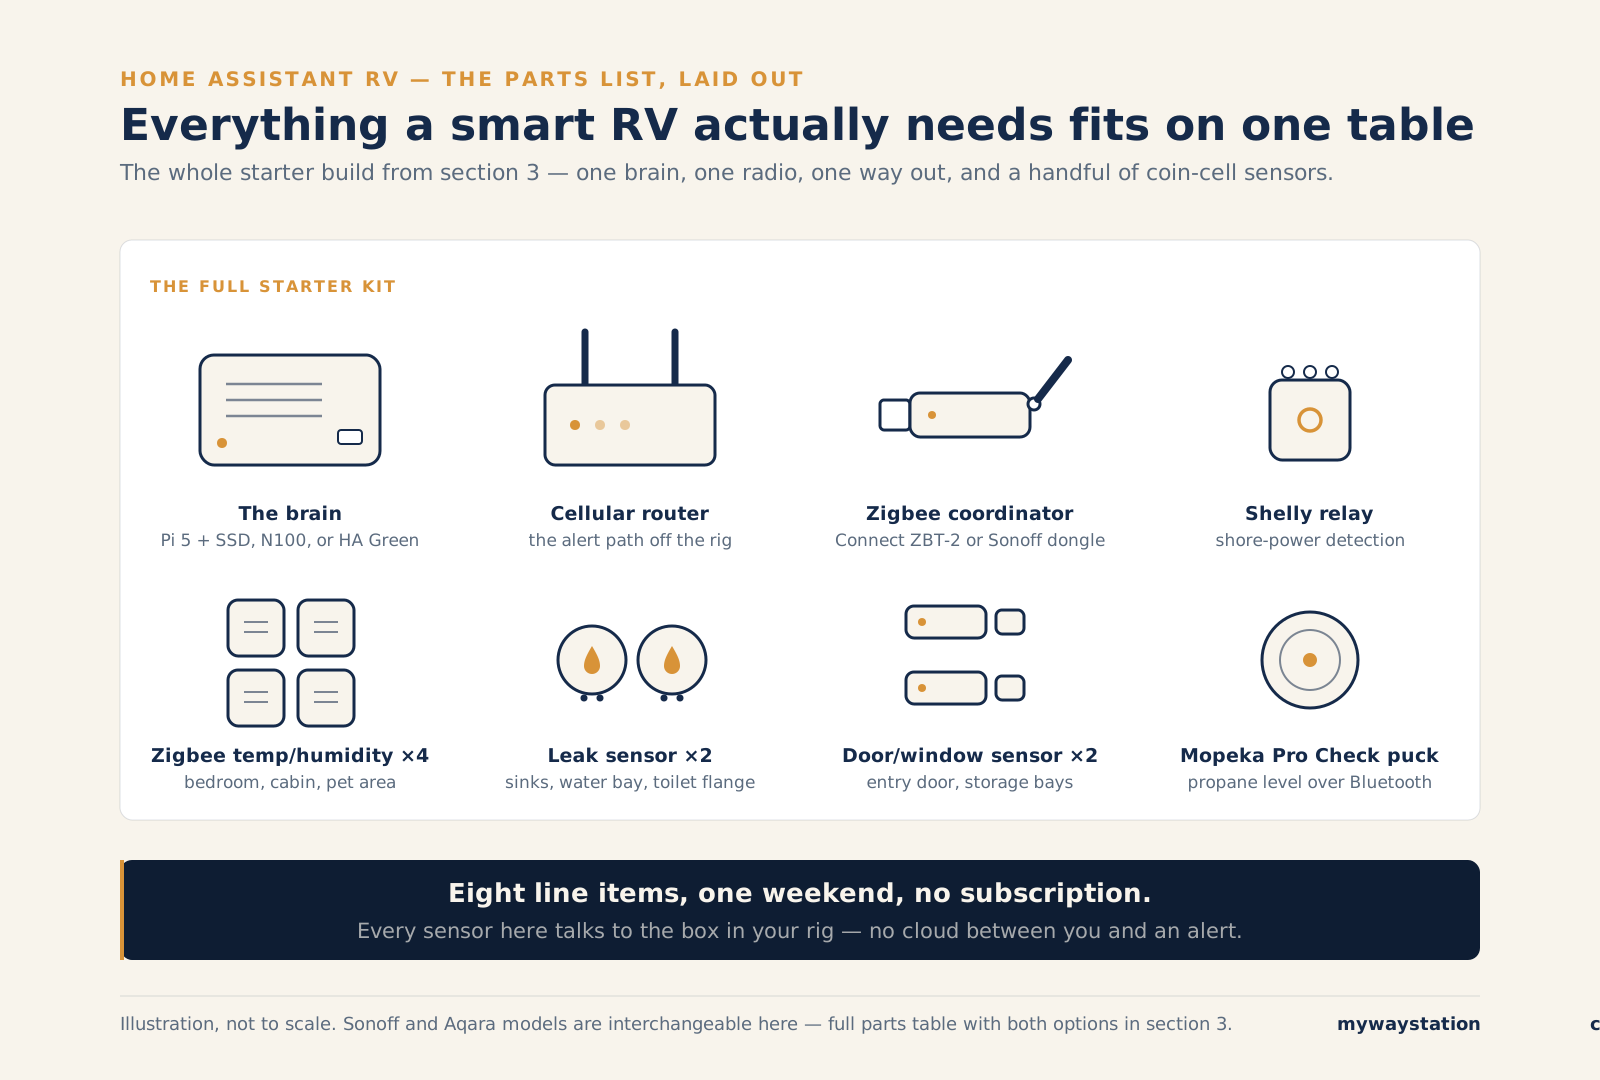
The whole starter kit — eight line items, one weekend, no subscription. (Illustration — real photo coming when the build hardware lands.)
Prices checked July 2026 at manufacturers' own stores; Amazon street prices usually run lower:
| Part | What it does | Approx. price |
|---|---|---|
| Zigbee coordinator — Home Assistant Connect ZBT-2, or Sonoff ZBDongle-E (budget pick) | Radio that talks to all Zigbee sensors | $49 MSRP / $20 (itead.cc) |
| Sonoff SNZB-02P temp/humidity (×3–4) | Interior temp — bedroom, main cabin, pet area | $11 each (itead.cc) |
| Aqara or Sonoff (SNZB-05P) water leak sensor (×2–3) | Under sinks, water heater bay, around the toilet flange | $10–16 (Sonoff) / $19 MSRP (Aqara) |
| Sonoff SNZB-04P or Aqara door/window sensor (×2–4) | Entry door, storage bays | $11–14 (Sonoff) / $18 MSRP (Aqara) |
| Shelly Plug US Gen4 or Shelly EM Gen3 | Shore-power detection + power monitoring | ~$20–70 |
| Mopeka Pro Check | Propane tank level via Bluetooth | $66 (mopeka.com; Amazon matches) |
| Victron SmartShunt (if you don't have one) | Battery voltage, current, state of charge | ~$100–130 street |
Own a Victron shunt already? Roughly $190–320 in sensors plus the $150–250 computer. Comparable commercial coverage costs more hardware plus $10–40/month forever.
Which Zigbee dongle. Zigbee sensors are cheap, run a year-plus on a coin cell, and mesh; either coordinator in the table covers an RV. The $49 ZBT-2 buys a modern Silicon Labs MG24 radio, USB-C, and an external antenna over the $20 Sonoff. Keep the dongle on a short USB extension — USB 3.0 ports are 2.4GHz noise sources.
Bluetooth: the gear you already own. Owners on iRV2's thread "Remotely Monitoring Bluetooth-Only RV Devices: Solutions and Limitations" resort to leaving a tablet running TeamViewer in the rig. Home Assistant ends that. The official Victron BLE integration reads a Victron SmartShunt or BMV directly — enable "Instant Readout" in VictronConnect, copy the encryption key into HA, and battery voltage, current, and state of charge are yours to automate on. Mopeka Pro Check sensors auto-discover via the official Mopeka integration. (Both are core integrations — Mopeka since HA 2023.2, Victron BLE since 2025.12.) If the box's built-in Bluetooth can't reach a far sensor, a $10 ESP32 running ESPHome acts as a Bluetooth proxy — though in a 30-foot vehicle you likely won't need one.
Shelly for power. Shelly's WiFi relays and meters run locally with first-class HA support. One on an outlet that's only live when the pedestal has power is the cheapest reliable shore-power detector there is (section 5). Current US models: PM Mini Gen3, EM Gen3 (50A/80A/120A clamps), Shelly Plug US Gen4 (metering built in).
What about gray/black tank sensors? The factory panel lies to everyone; doing better is its own saga (externally-mounted sensors, mostly). For this build, propane via Mopeka is the tank readout that's genuinely solved.
4. Connectivity: getting alerts off the rig
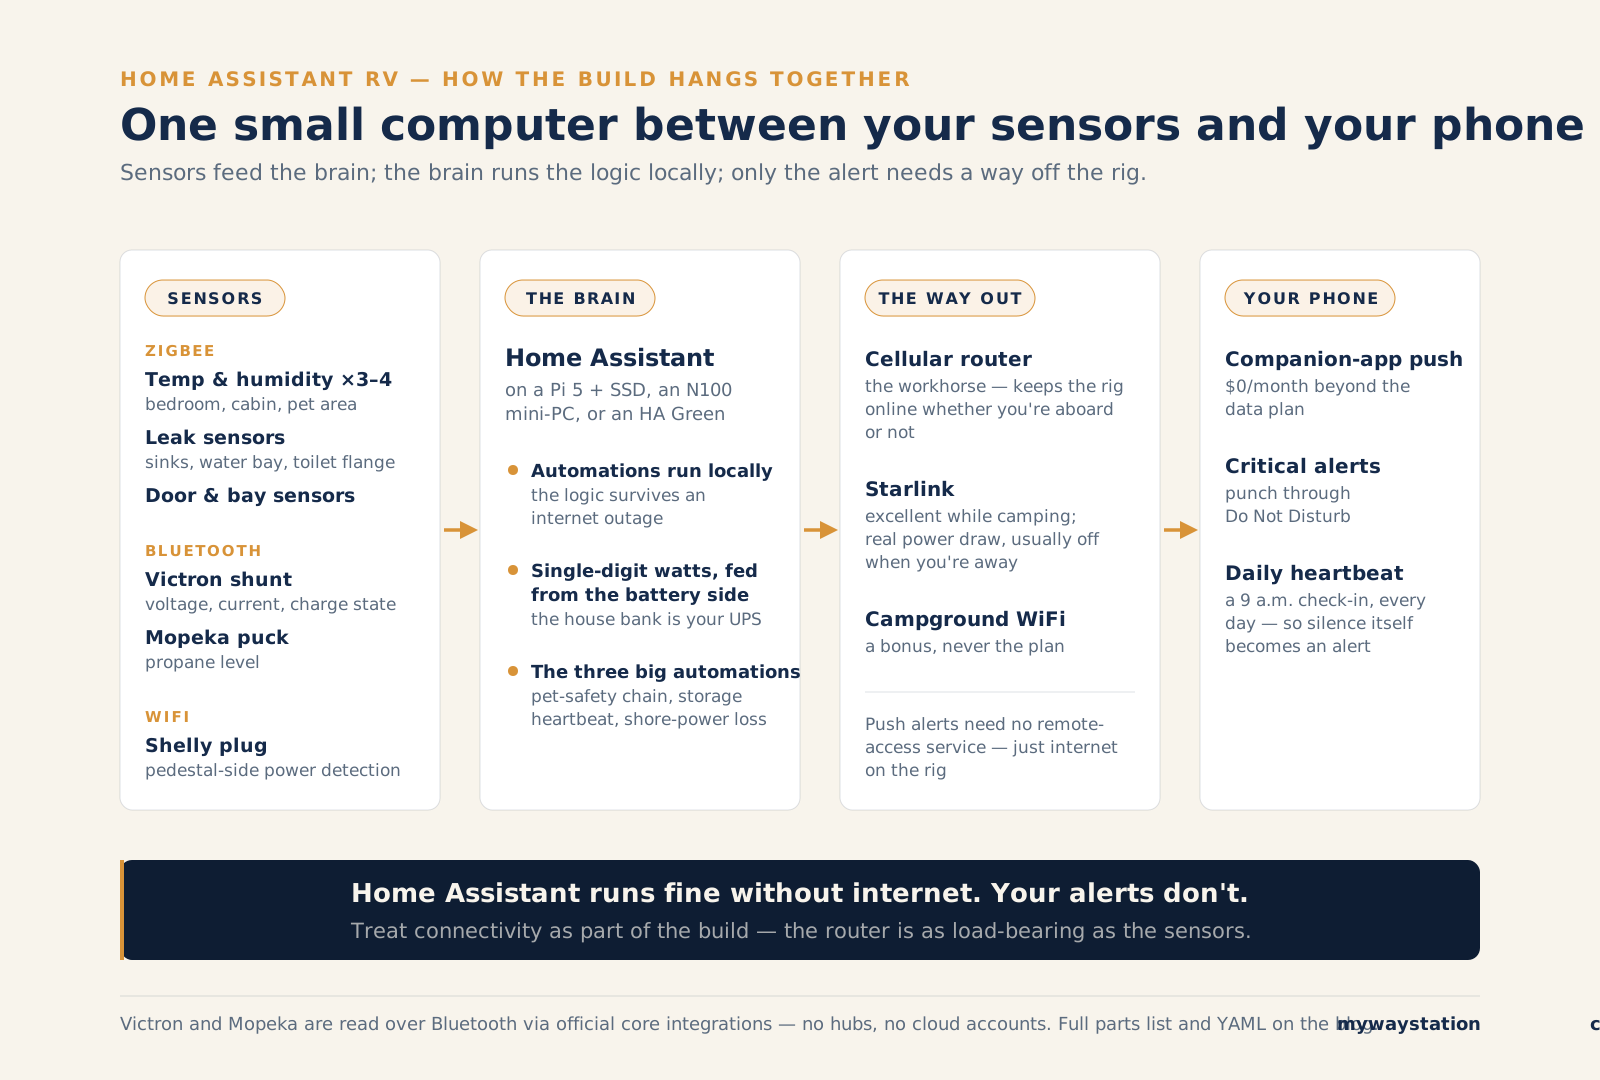
Sensors feed the brain; the brain runs the logic locally; only the alert needs a way off the rig.
Home Assistant runs fine with no internet. Your alerts don't — a system that can't reach your phone is a diary.
- Cellular router — the workhorse: a data SIM keeps the rig online whether you're aboard or not. Details: our guide to RV internet for monitoring.
- Starlink — great while camping; it draws real power and most people shut it down when they leave. Poor always-on link.
- Campground WiFi — fine as a bonus, never as the plan.
Remote access, two good answers:
- Home Assistant Cloud (Nabu Casa), $6.50/month or $65/year. Zero-config, with 5GB of encrypted offsite storage for your latest backup (section 6).
- Tailscale — free forever for personal use (6 users, unlimited devices). Put the VPN on the HA box and your phone; more setup, zero dollars.
Push notifications need neither — the companion app delivers alerts whenever the rig has internet. True minimum: cellular router + companion app, $0/month beyond data.
5. The three RV automations that actually matter
Skip the awning lights for now — these three are the reason to build. Entity IDs are placeholders — rename to match.
Automation 1: The pet-safety chain
Pedestal drops power, AC dies, interior heats up. Alert on power loss immediately (it precedes the heat), on temperature independently, and repeat until a human acknowledges. Heat timelines and thresholds: our RV pet safety and temperature guide.
yaml
alias: "Pet safety - power loss or high temp"
description: "Immediate critical alert, then repeat every 5 min until acknowledged"
triggers:
  - trigger: state
    entity_id: binary_sensor.shore_power_present
    to: "off"
    for: "00:02:00"
  - trigger: numeric_state
    entity_id: sensor.main_cabin_temperature
    above: 85
    for: "00:05:00"
conditions:
  - condition: state
    entity_id: input_boolean.pet_aboard
    state: "on"
actions:
  - repeat:
      sequence:
        - action: notify.mobile_app_your_phone
          data:
            title: "🚨 PET SAFETY ALERT"
            message: >
              Shore power: {{ states('binary_sensor.shore_power_present') }}.
              Cabin temp: {{ states('sensor.main_cabin_temperature') }}°F.
            data:
              push:
                sound:
                  name: default
                  critical: 1
                  volume: 1.0
        - wait_for_trigger:
            - trigger: state
              entity_id: input_boolean.pet_alert_acknowledged
              to: "on"
          timeout: "00:05:00"
      until:
        - condition: state
          entity_id: input_boolean.pet_alert_acknowledged
          state: "on"
mode: single
Flip input_boolean.pet_aboard when the dog's aboard so it doesn't cry wolf on an empty rig; critical: 1 punches through iOS Do Not Disturb.
Automation 2: The storage heartbeat
In storage, the killer feature is daily proof of life: a report at the same time every day means silence itself becomes an alert. (More: our guide to monitoring an RV in storage.)
yaml
alias: "Storage heartbeat - daily report"
triggers:
  - trigger: time
    at: "09:00:00"
actions:
  - action: notify.mobile_app_your_phone
    data:
      title: "🏕️ RV daily check-in"
      message: >
        Battery: {{ states('sensor.smartshunt_voltage') }}V
        ({{ states('sensor.smartshunt_state_of_charge') }}%).
        Interior: {{ states('sensor.main_cabin_temperature') }}°F.
        Propane: {{ states('sensor.mopeka_tank_level') }}%.
mode: single
Pair it with an anomaly alarm — low voltage, plus staleness:
yaml
alias: "Storage - battery low or sensors silent"
triggers:
  - trigger: numeric_state
    entity_id: sensor.smartshunt_voltage
    below: 12.2
    for: "00:30:00"
  - trigger: state
    entity_id: sensor.main_cabin_temperature
    to: "unavailable"
    for: "06:00:00"
actions:
  - action: notify.mobile_app_your_phone
    data:
      title: "⚠️ RV needs attention"
      message: >
        Voltage {{ states('sensor.smartshunt_voltage') }}V /
        cabin sensor {{ states('sensor.main_cabin_temperature') }}.
        One of these is wrong. Go look.
mode: single
Automation 3: Shore-power loss detection
The foundation the other two stand on. Put a Shelly on a circuit that's hot only when the pedestal is live — ahead of the inverter, so your batteries can't mask the outage. Why pedestal-side sensing wins: our shore-power loss alert guide.
yaml
alias: "Shore power lost"
triggers:
  - trigger: numeric_state
    entity_id: sensor.shelly_pedestal_voltage
    below: 90
    for: "00:02:00"
  - trigger: state
    entity_id: sensor.shelly_pedestal_voltage
    to: "unavailable"
    for: "00:05:00"
actions:
  - action: notify.mobile_app_your_phone
    data:
      title: "⚡ Shore power lost"
      message: >
        Pedestal voltage: {{ states('sensor.shelly_pedestal_voltage') }}.
        Inverter may be carrying the load — AC is likely off.
mode: single
The for: delays filter the half-second blips campground transformers throw; without them you learn to ignore the alert.
6. Honest failure modes (and how to engineer around them)
Commercial marketing implies DIY is fragile. Not entirely wrong:
The brownout that bricks the boot. Power sags, the supply dips, the box never comes back. Fix: battery-side power (the house bank is your UPS) or a UPS HAT on Pi builds, plus Home Assistant OS's hardware watchdog to force-reboot a hung system.
SD card corruption. The number-one killer of Pi builds. Fix: an SSD (or a Green's eMMC), plus automatic off-rig backups; Nabu Casa includes 5GB of encrypted cloud storage for your latest one.
The automation that silently breaks. A renamed entity, an update, a dead sensor battery — and an automation just stops. The system that would tell you is the one that broke. Fix: the staleness triggers in section 5, plus a periodic live test — flip the breaker, confirm the alert arrives.
The dead man's switch problem. If the whole box dies, nothing on it can tell you. You'll notice the missing 9 a.m. heartbeat yourself; as backstop, Healthchecks.io emails you when a periodic ping from HA stops (free tier: 20 checks; you need one).
It's all an afternoon of hardening — the work the subscription fee pays for. Do the work or pay the fee; there is no third option.
7. Should you actually do this? The DIY-vs-buy decision
1. Is the building fun or a chore? Project: build. Syllabus: buy. Your dog doesn't care whether the alert came from YAML or an app.
2. Who needs to trust the system? Just you: DIY is fine. A spouse, or a pet depending on alerts during your off week: commercial systems have a support department; you are yours.
3. What's the five-year math? DIY: ~$340–570 hardware, $0–78/year optional services, a weekend up front. Commercial: $100–200 hardware (a single monitor, not whole-RV coverage) plus $120–480/year. Over five years DIY usually wins on dollars and always wins on capability; commercial wins on time and accountability.
If "buy": our ranked comparison of the best RV monitoring systems is the companion piece. If "build": welcome — r/homeassistant and iRV2's tech subforum have been solving these corner cases for years.
FAQ
Can Home Assistant really replace a commercial RV monitor like Waggle or MarCELL? Functionally, yes — it watches power, tanks, batteries, doors, and leaks, not just temperature. But a commercial product has a company behind its alerts; a DIY build has you.
How much does a Home Assistant RV setup cost? Roughly $340–570 all-in if you already own a Victron shunt and cellular internet; ongoing, $0 (Tailscale) or $6.50/month (Nabu Casa) plus data.
Does Home Assistant work without internet in the RV? The automations do — everything runs locally. Notifications don't; alerts need a connection off the rig (section 4).
How much power does Home Assistant draw from my batteries? Call a working Pi 5 build ~4W (a Green under 2W, an N100 6–10W) — about 8Ah/day from a 12V bank. Trivial with solar; meaningful in dark storage.
Can Home Assistant read my Victron and Mopeka sensors? Yes — official core integrations. Victron devices with Instant Readout (SmartShunt, BMV, SmartSolar) read over Bluetooth with an encryption key from VictronConnect; Mopeka Pro Check auto-discovers. No hubs, no cloud accounts.
Do I need Nabu Casa, or is Tailscale enough? Push notifications need neither. For remote dashboard access Tailscale is free; Nabu Casa ($6.50/mo) is easier and funds the project.
What's the single most common DIY failure? SD card corruption on Raspberry Pi builds, then power-loss boot failures — both solved (SSD, battery-side power, watchdog), but only if you solve them.
Home Assistant, Victron, Mopeka, Shelly, Sonoff, and Aqara are trademarks of their respective owners. This guide is independent — nobody paid for placement.
Stay in the loop
Occasional updates from the road and the workbench — what we're learning, what we're building. No spam, easy out.